Parts of this tutorial are based on the instruction from malm.audio
I think everybody who is a bit experienced with modular / semi-modular synths knows about the Behringer Neutron.. yes that nifty red box which isn’t a clone from another mother 😉
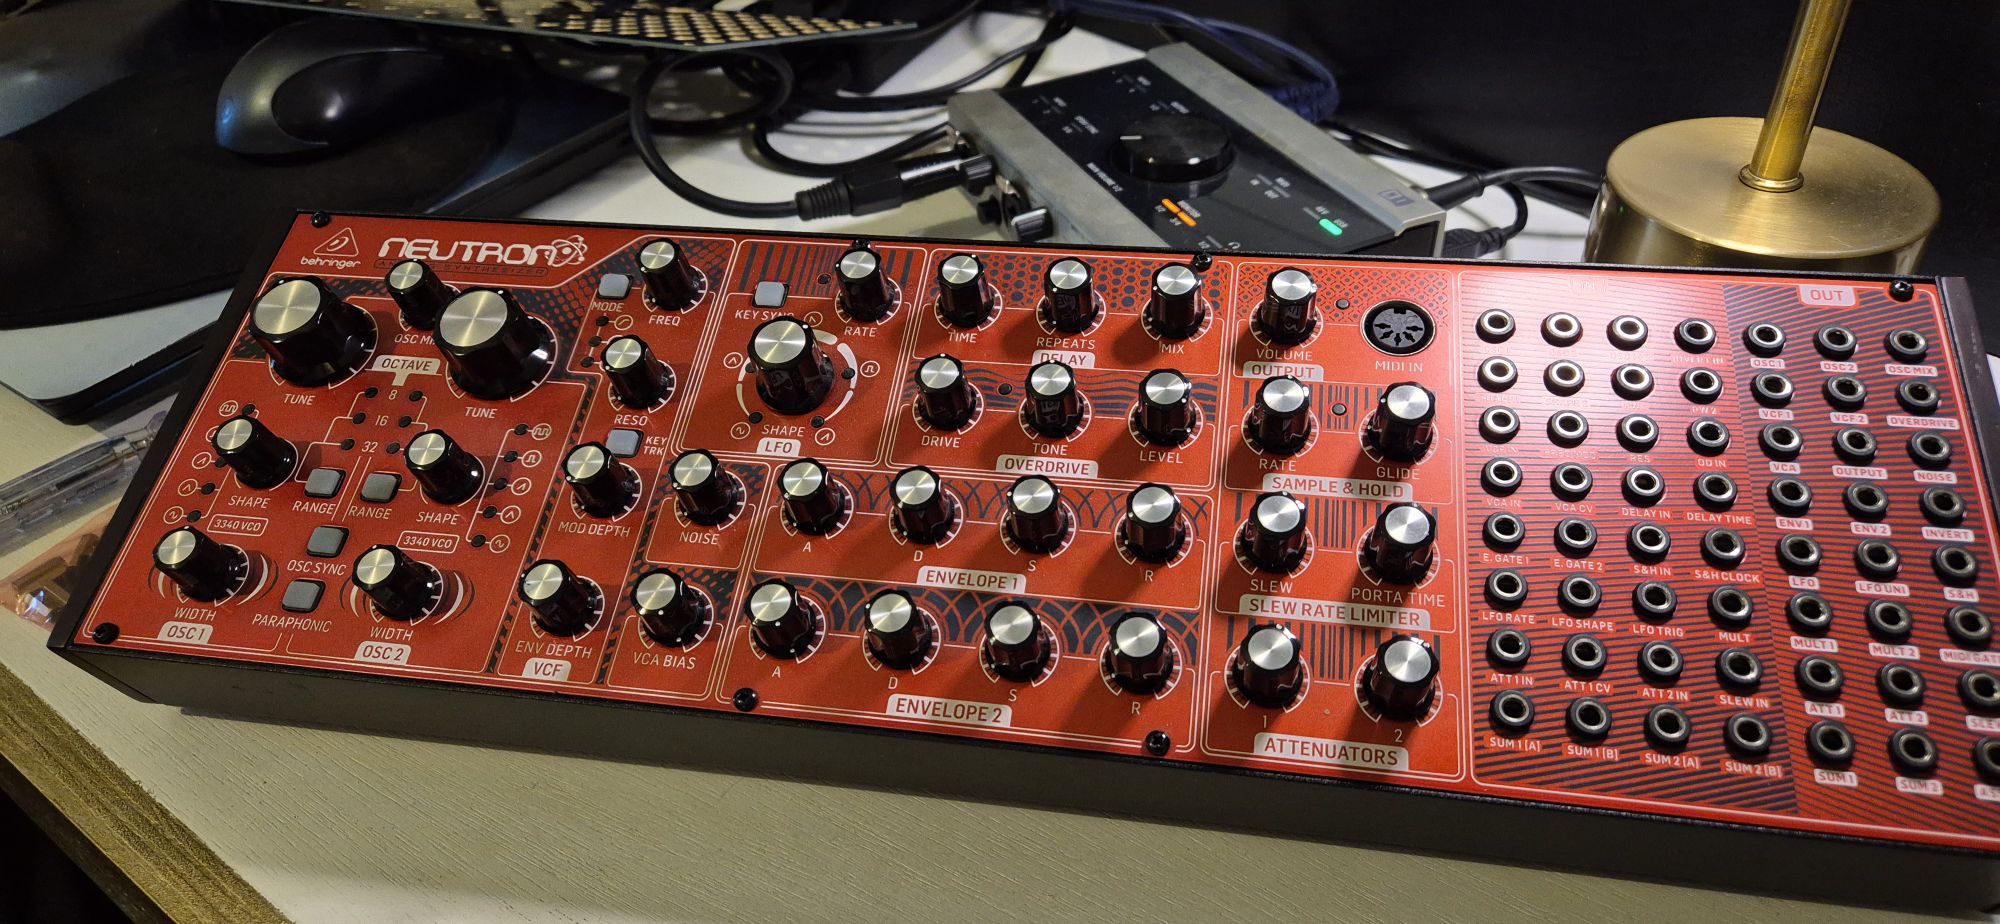
Maybe you like the red color of this small beast well I’m more a black cover lover so I decided to buy a nice black/gold front panel from malm.audio for $40 and installed it on my device. I thought it was a nice idea to create a tutorial for this, so here it is.
Of course you can use the tiny but clear instruction from the developers, but hey let’s do some pictures so that it’s getting visualized 📸
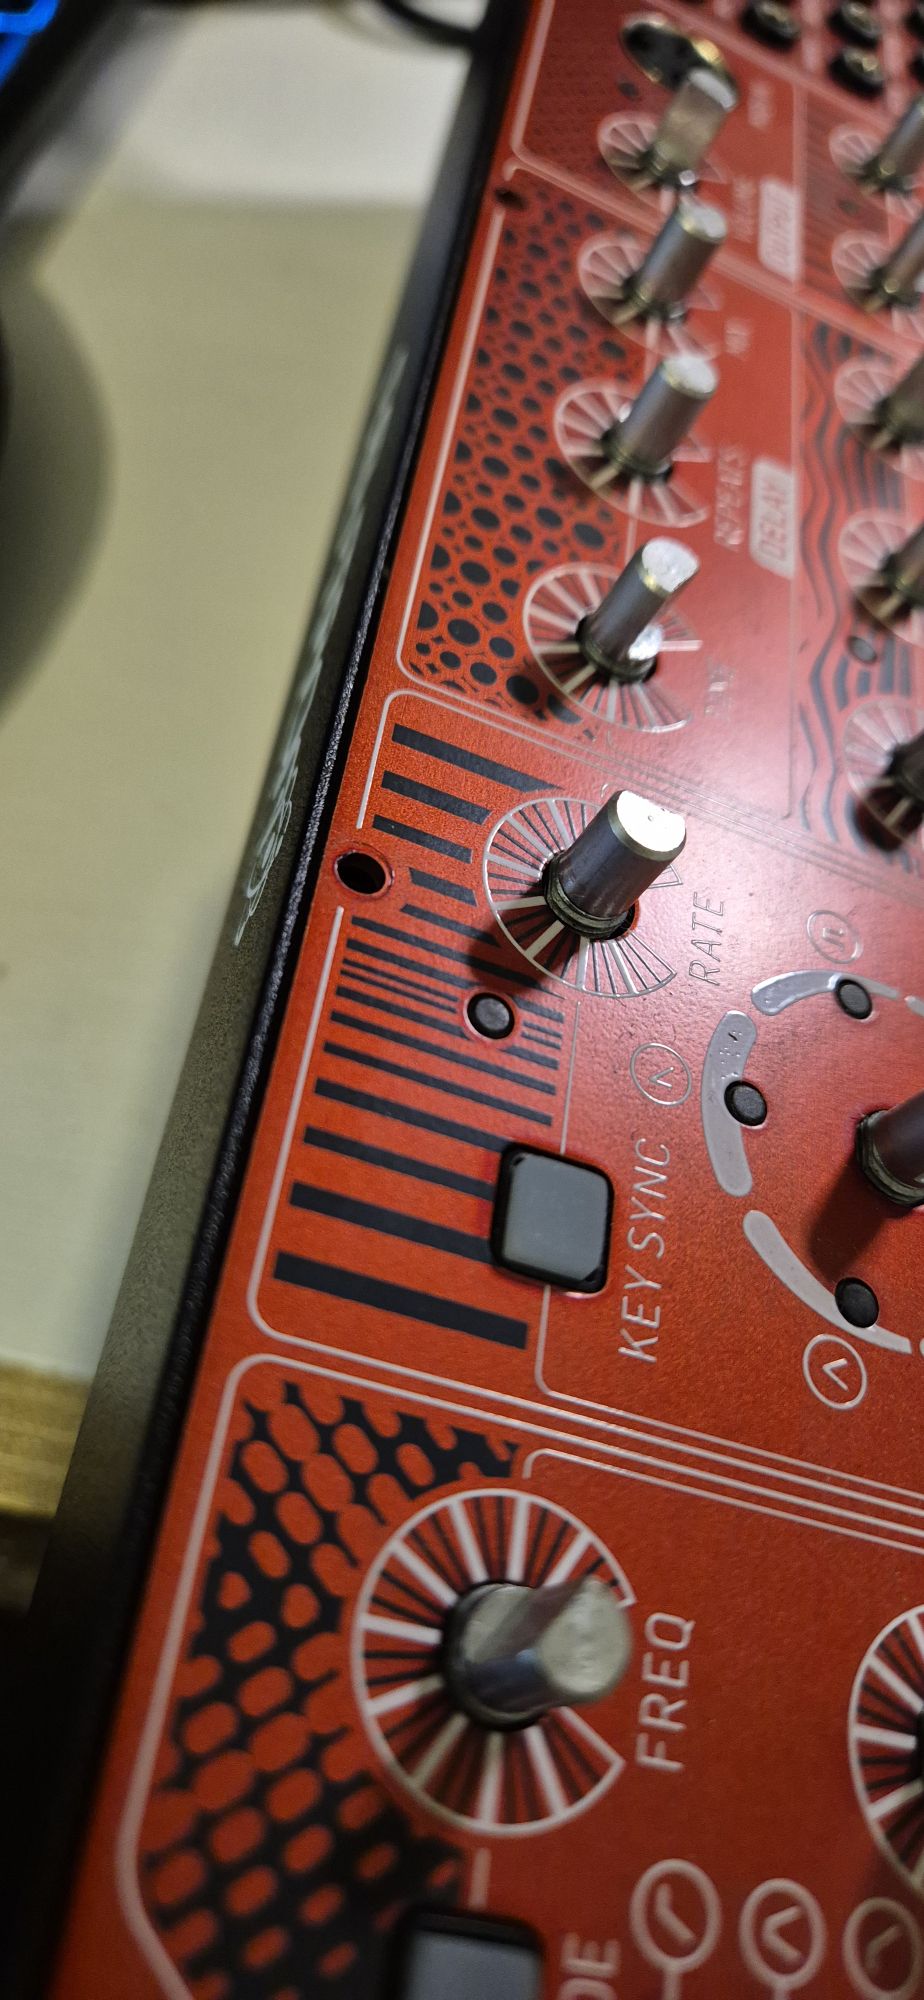
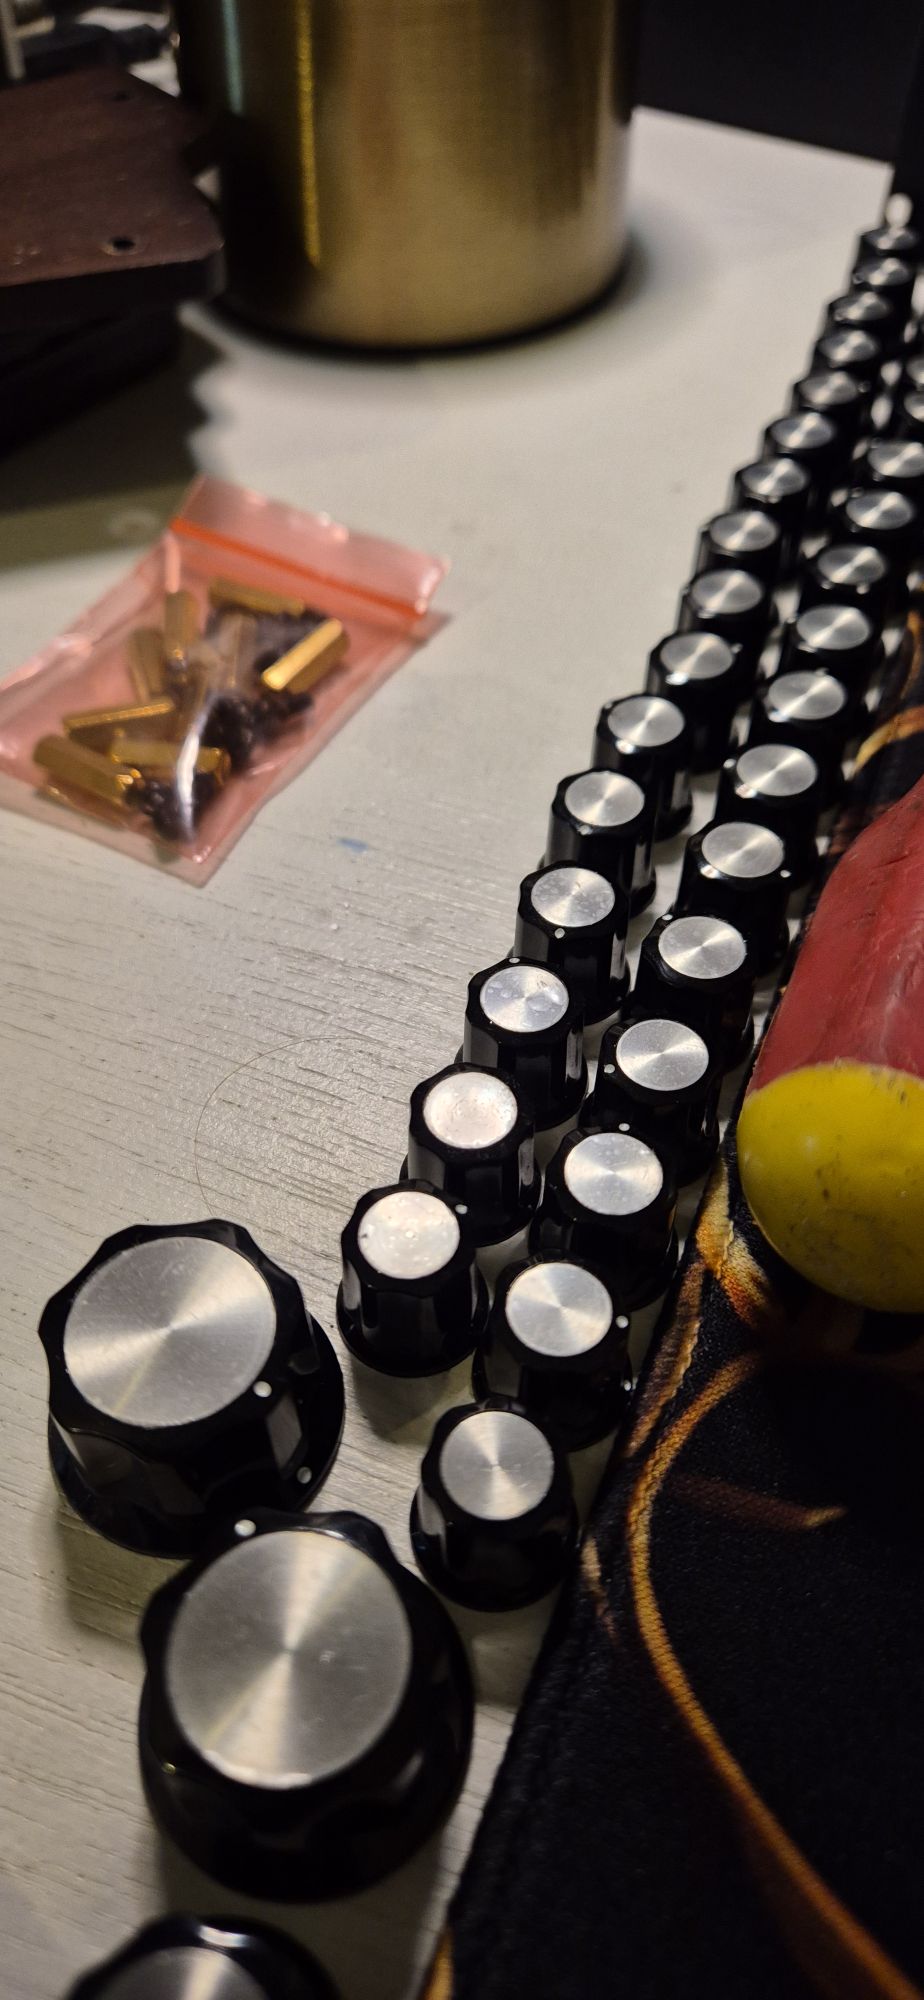
Step 1 – Remove the knobs from the front of the Neutron
If you have never done this before, this might fell a bit scary because especially when the knobs never have been removed they feel like stuck. When try to remove them it feels like you break something. Don’t be scared, if you smoothly pull them (try to avoid moving them back and forth) you will notice at some point that the knob has not won over your strength, congratulations you won!
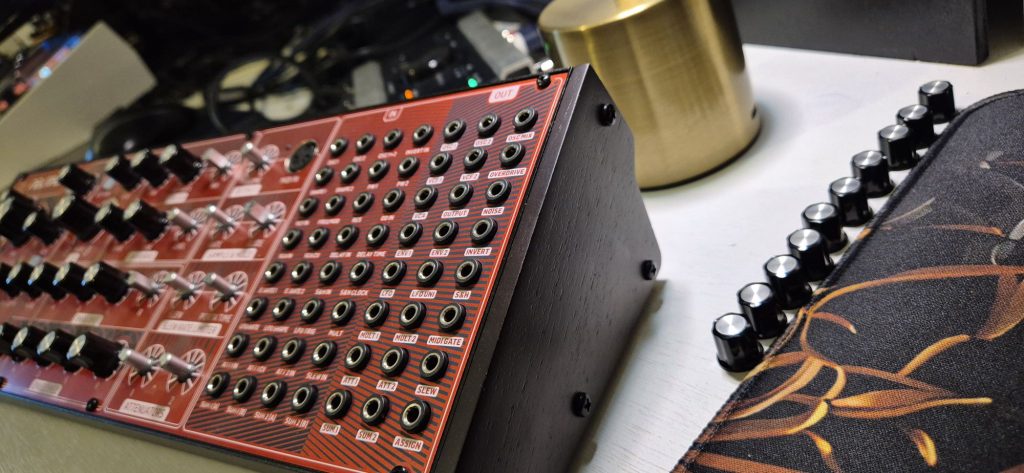
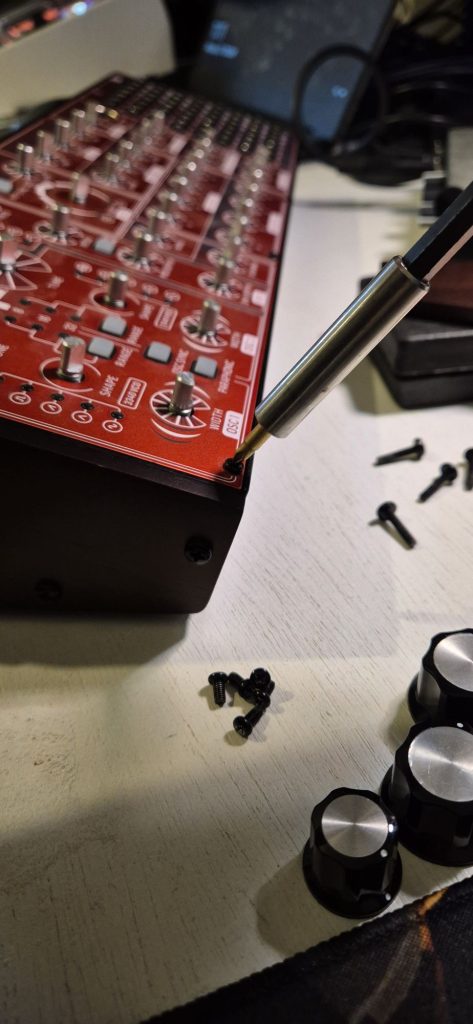
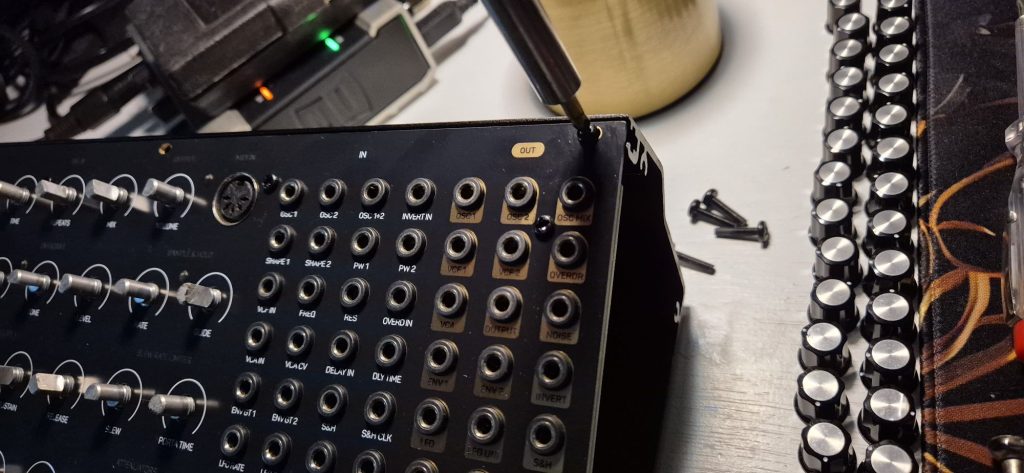
Step 2 – Unscrew the 8 mounting screws
The front panel is secured with 8 screws, to remove the panel you need to unscrew them. My experience is that the screws are quite tight. You will need some force to loosen them, but be careful not to over tighten the screws.
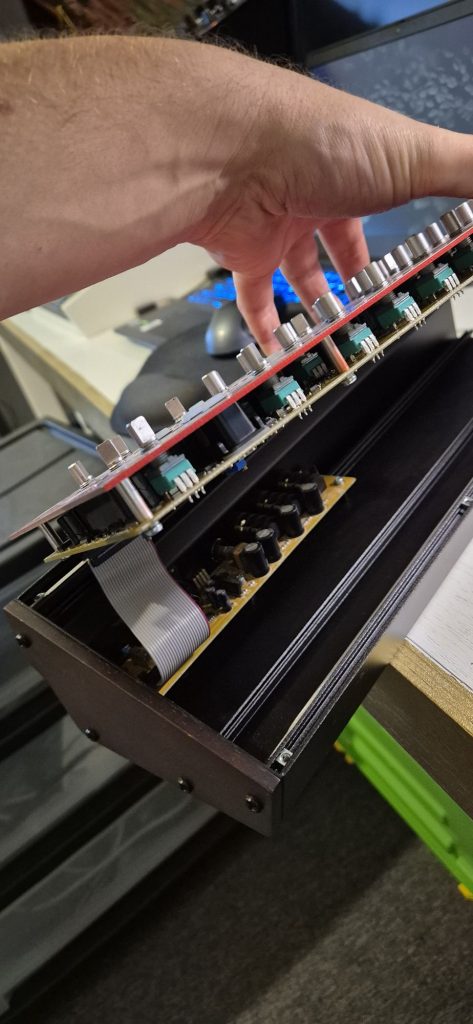
Step 3 – Lift out the panel and disconnect the ribbon cable
It’s easy now to lift out the red panel from the case. Now you also can see the ribbon cable which connected to the PCB. If you have experience with assembling personal computers, then yes.. it’s the same old school cable which connects your hard-drive to the motherboard.
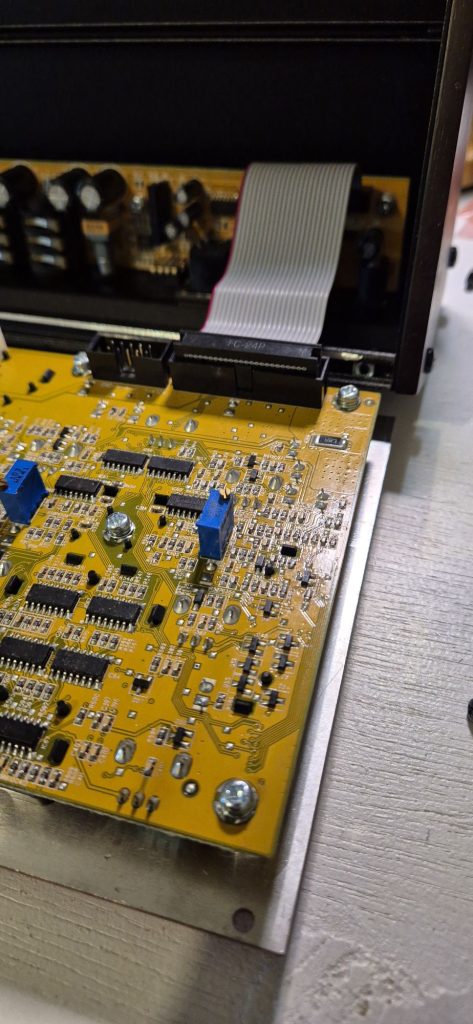
Step 4 – Unscrew the silver screws on the back of the PCB
On the back of the PCB you can find 18 silver screws which are connected to the front panel. Unscrew them all.
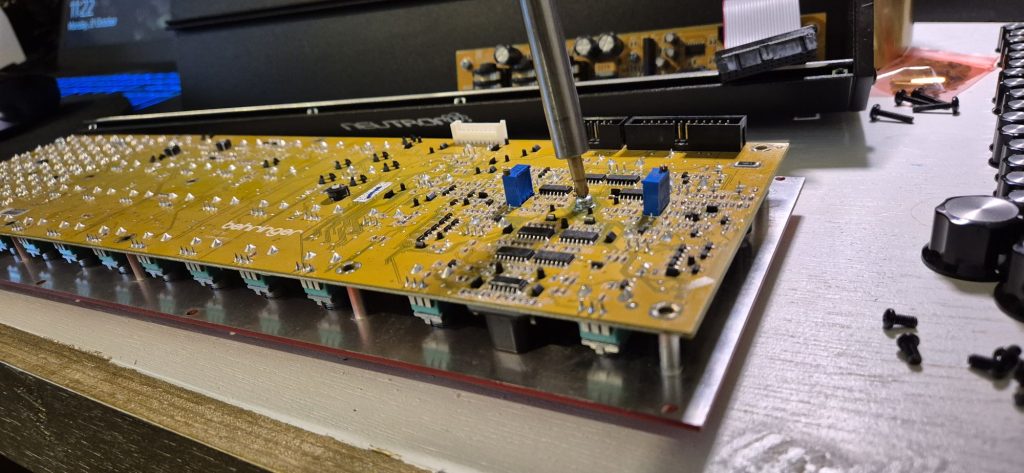
Step 5 – Remove the panel from the PCB
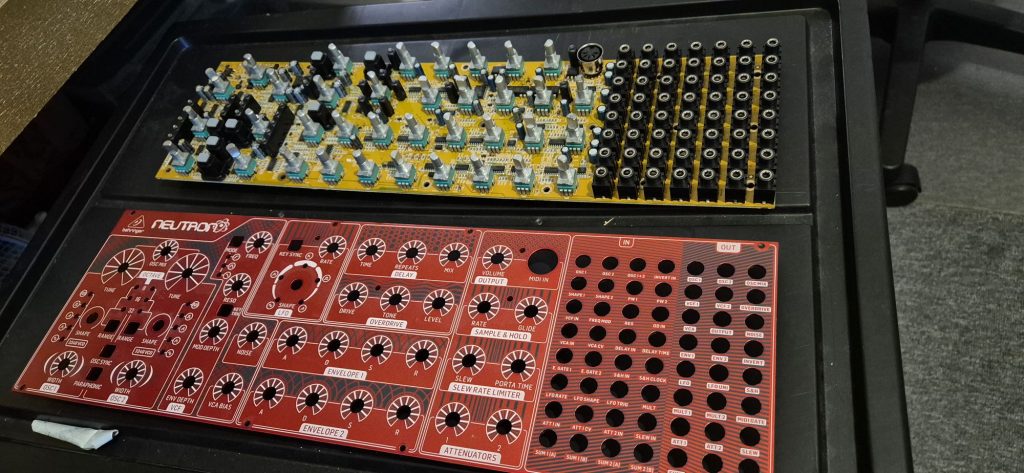
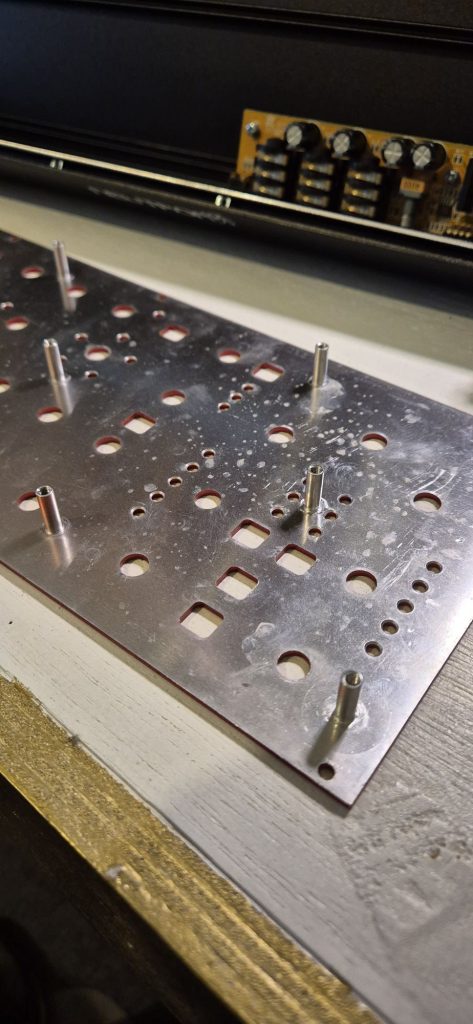
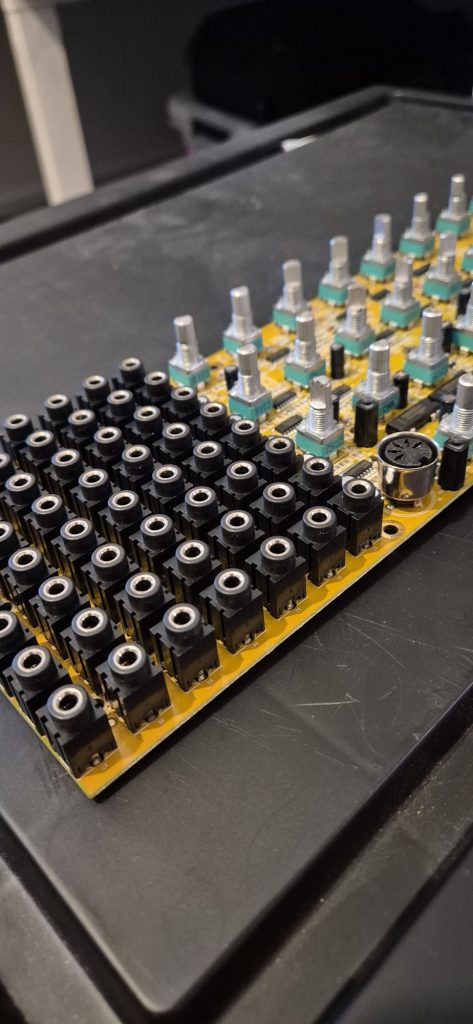
Step 6 – Mount the 10 hex spacers on the back of the new panel
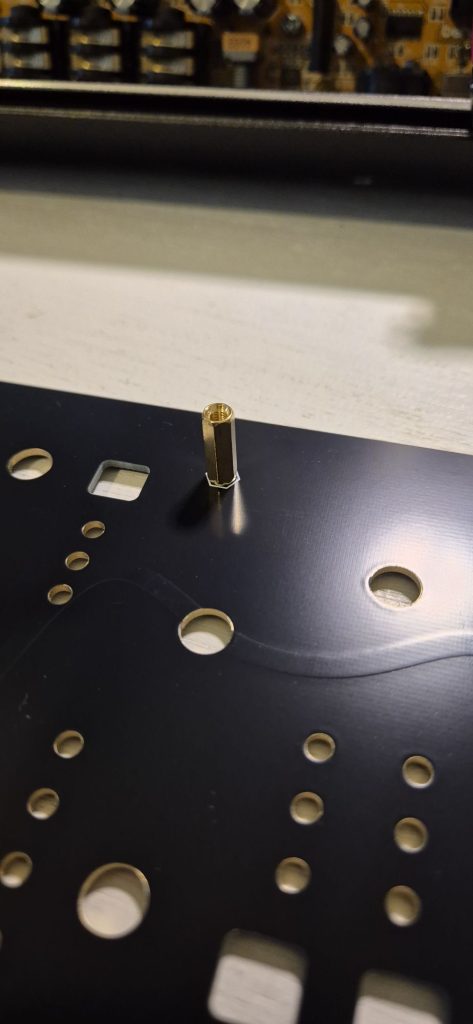
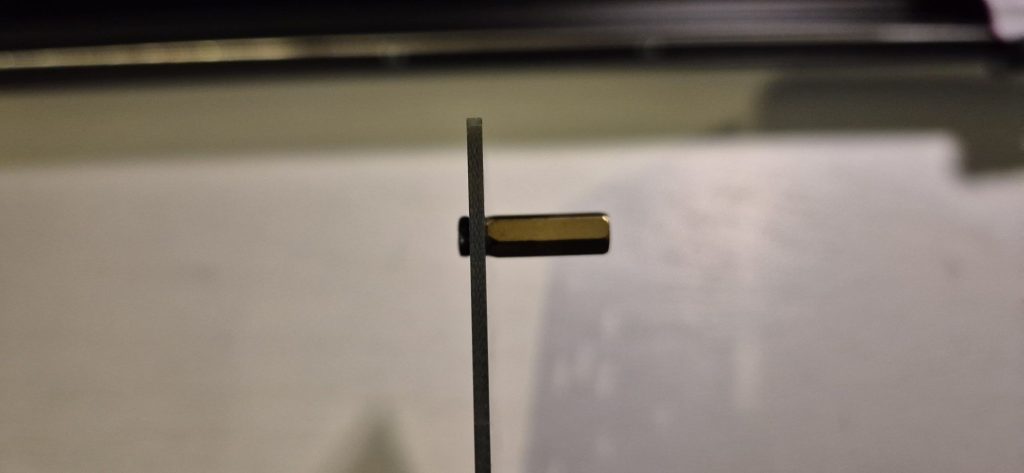
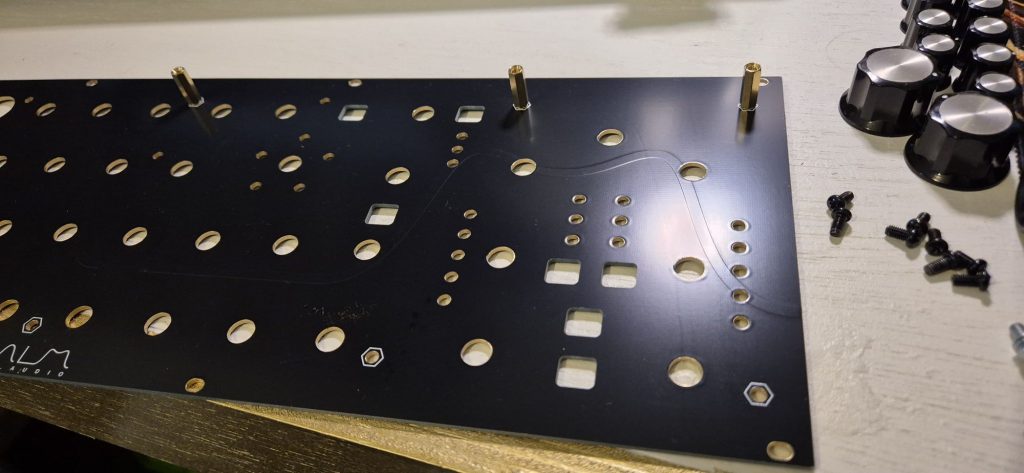
On your new front panel, check the holes marked with a hexagon. Mount the 10 hex spacers on the back with the screws from the front of the panel.
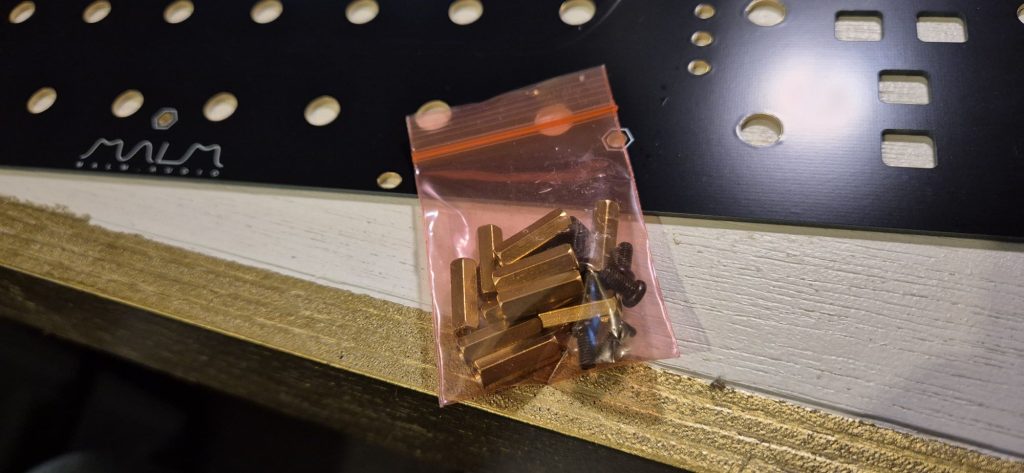
Step 7 – Place the new panel onto the PCB
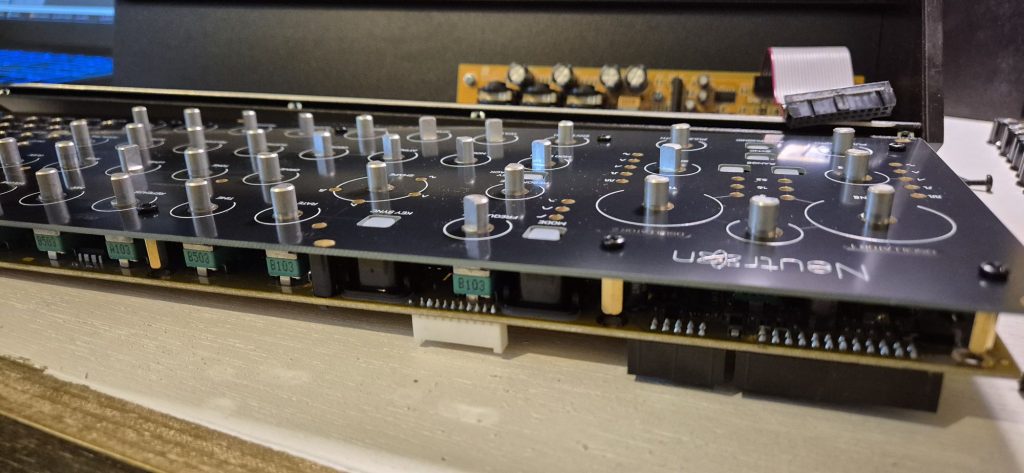
The new cover fits really good on the PCB, when done, turn it around.
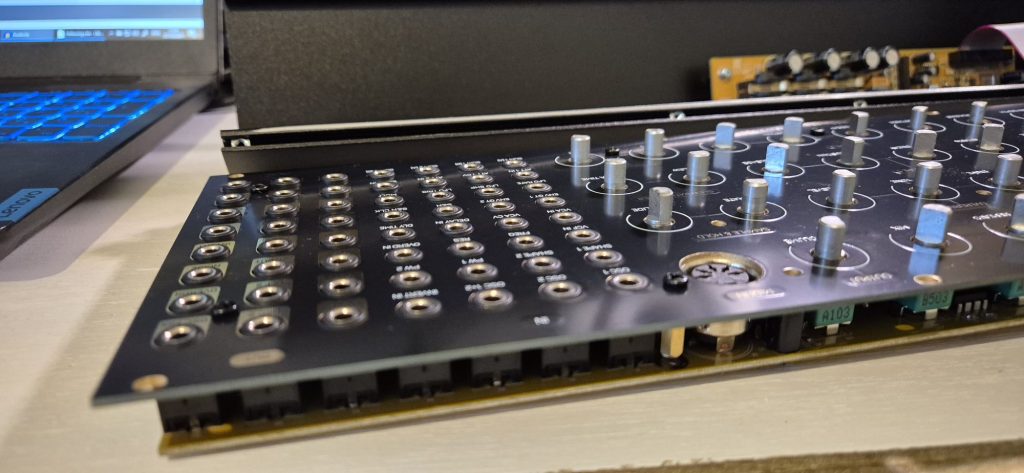
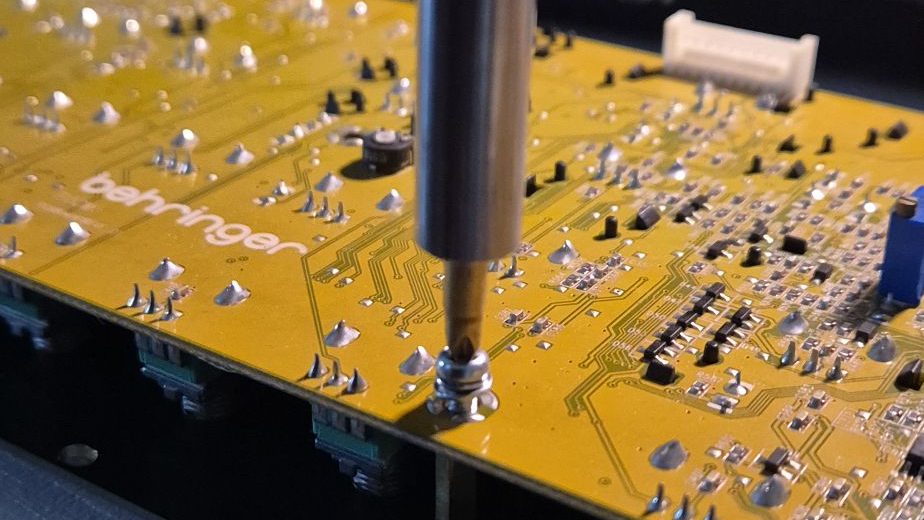
Step 8 – Screw 10 of the 18 original silver screws
Just screw 10 screws back on the PCB, it will be enough.
Step 9 – Connect the ribbon cable and place everything back into the case
When done, screw the 8 screws you removed in step 2
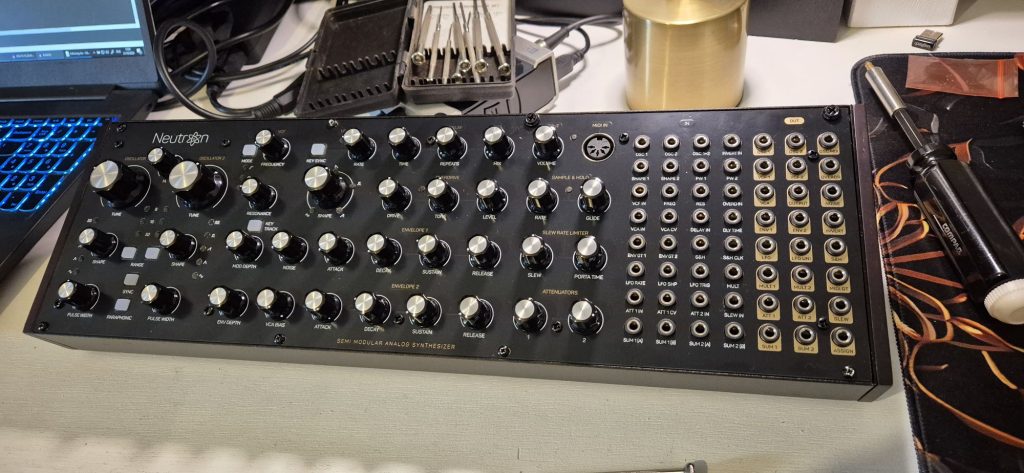
Step 10 – Put the knobs back and done 🙂
That wasn’t difficult right?
Don’t forget to subscribe our YouTube channel if you like to be informed about new content we made. Just hit the red button below, thanks 🙂